The Essential Pre-Closing Walkthrough Checklist Before You Buy Property
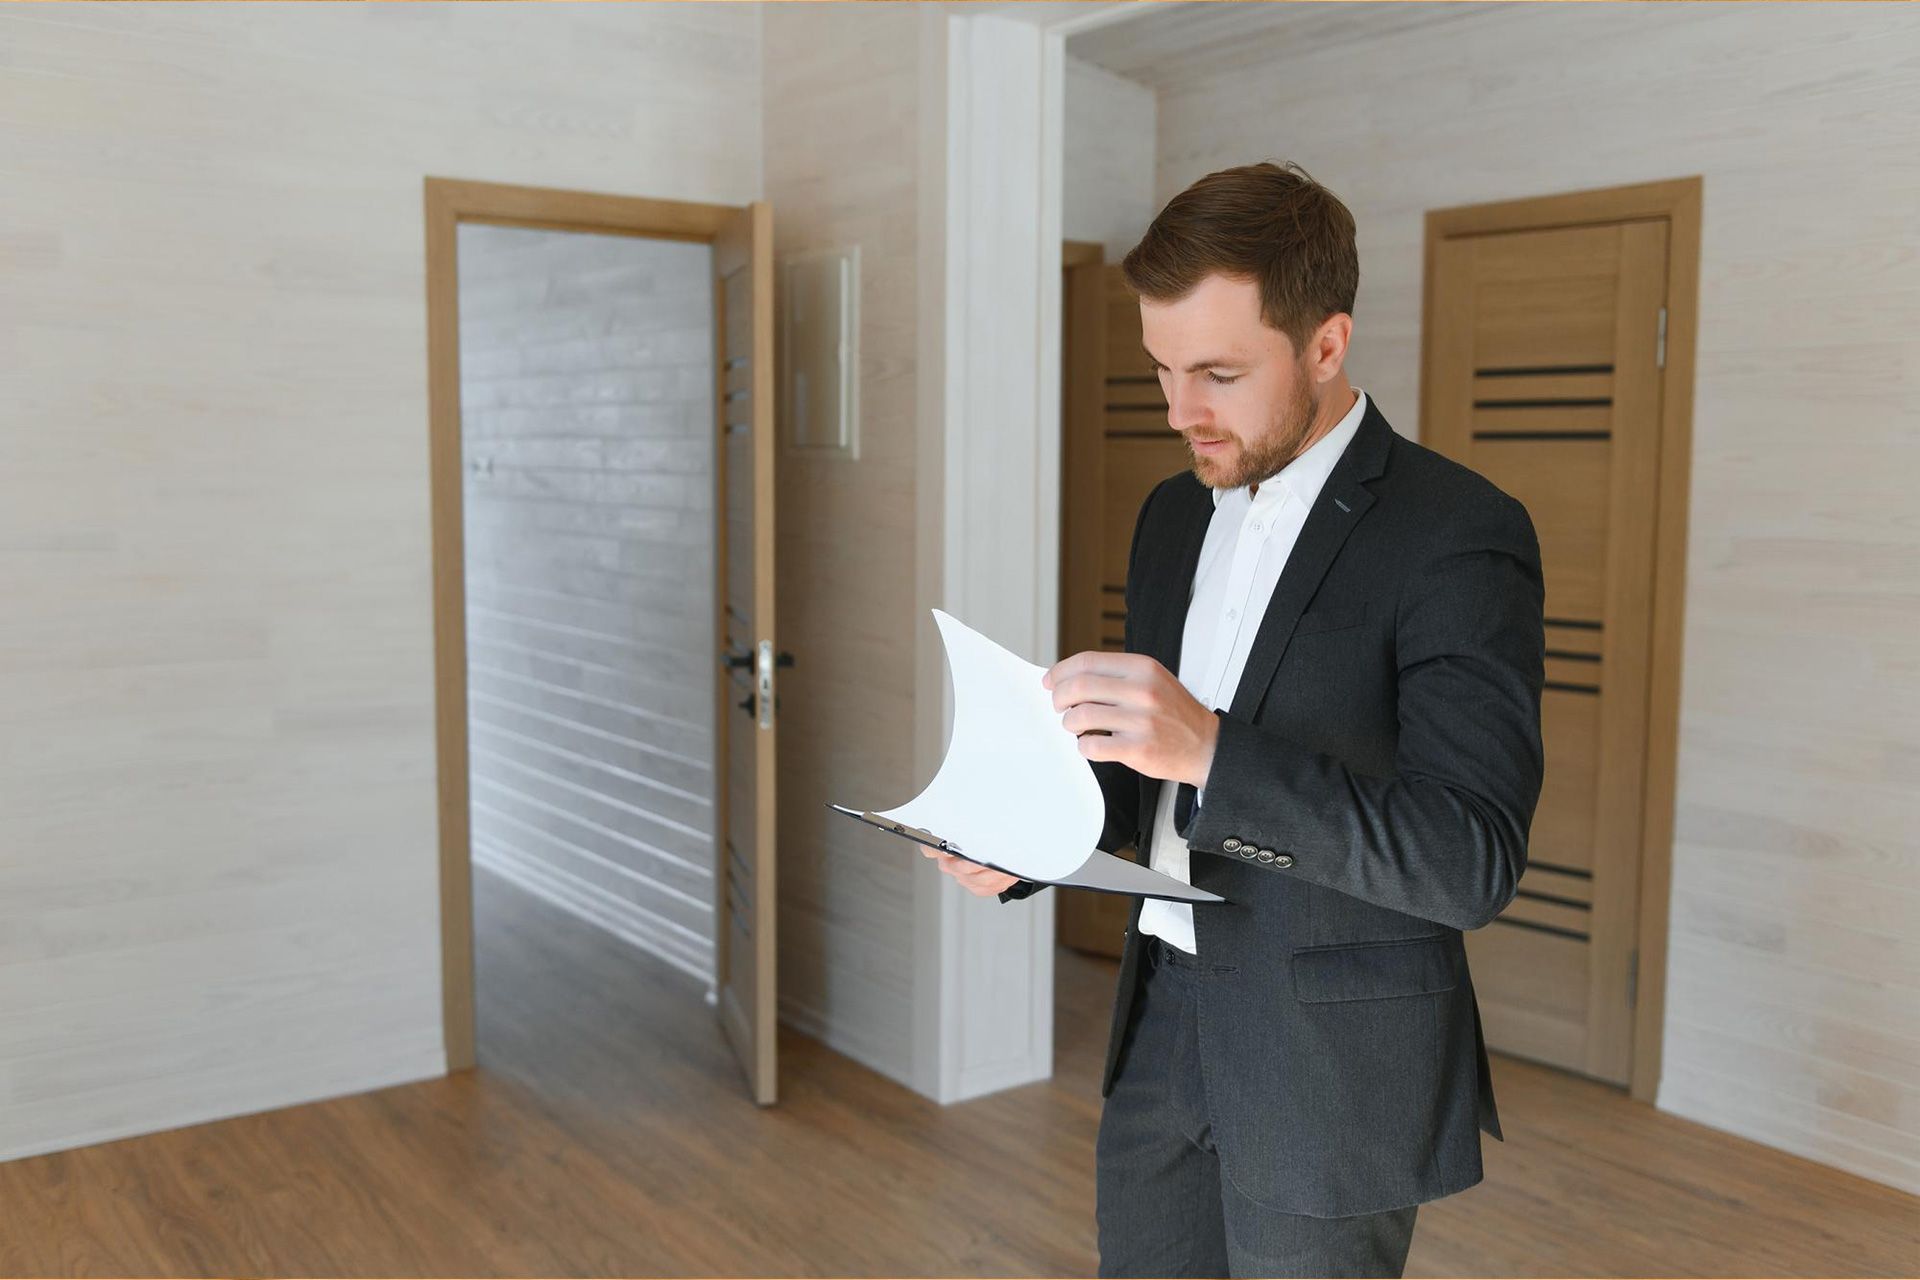
The final days before closing can feel exciting, but they can also feel rushed. You may be thinking about loan documents, moving plans, utilities, and keys. Still, you shouldn't skip one important step before you sign.
A pre-closing walkthrough checklist helps buyers review the home one last time before ownership changes. This walkthrough is not meant to replace a professional inspection. It is your chance to confirm that the property is in the expected condition, agreed repairs were completed, and nothing important has changed since your last visit.
For many buyers, this step gives peace of mind before closing. It helps you slow down, look carefully, and ask questions while you still have time to address concerns.
What is a Pre-Closing Walkthrough and Why It Matters
A pre-closing walkthrough is a final review of the property before settlement. It usually takes place shortly before closing, often after the seller has moved out or nearly finished moving. The buyer and real estate agent typically attend together.
This is not the time to renegotiate every small item or start a full inspection from the beginning. Instead, it helps confirm that the home still matches the purchase agreement. It also gives you a chance to check repairs, test basic functions, and make sure included items are still present.
A final walkthrough inspection can be especially helpful if the home was occupied during the buying process. Furniture, rugs, boxes, and personal items can hide stains, wall damage, floor issues, or small repairs that were not easy to see earlier.
Why This Step Matters Before Closing
- Once you close, many property issues become your responsibility. The walkthrough gives you one last chance to notice concerns before that happens. Even if the inspection was already completed, things can change before closing day.
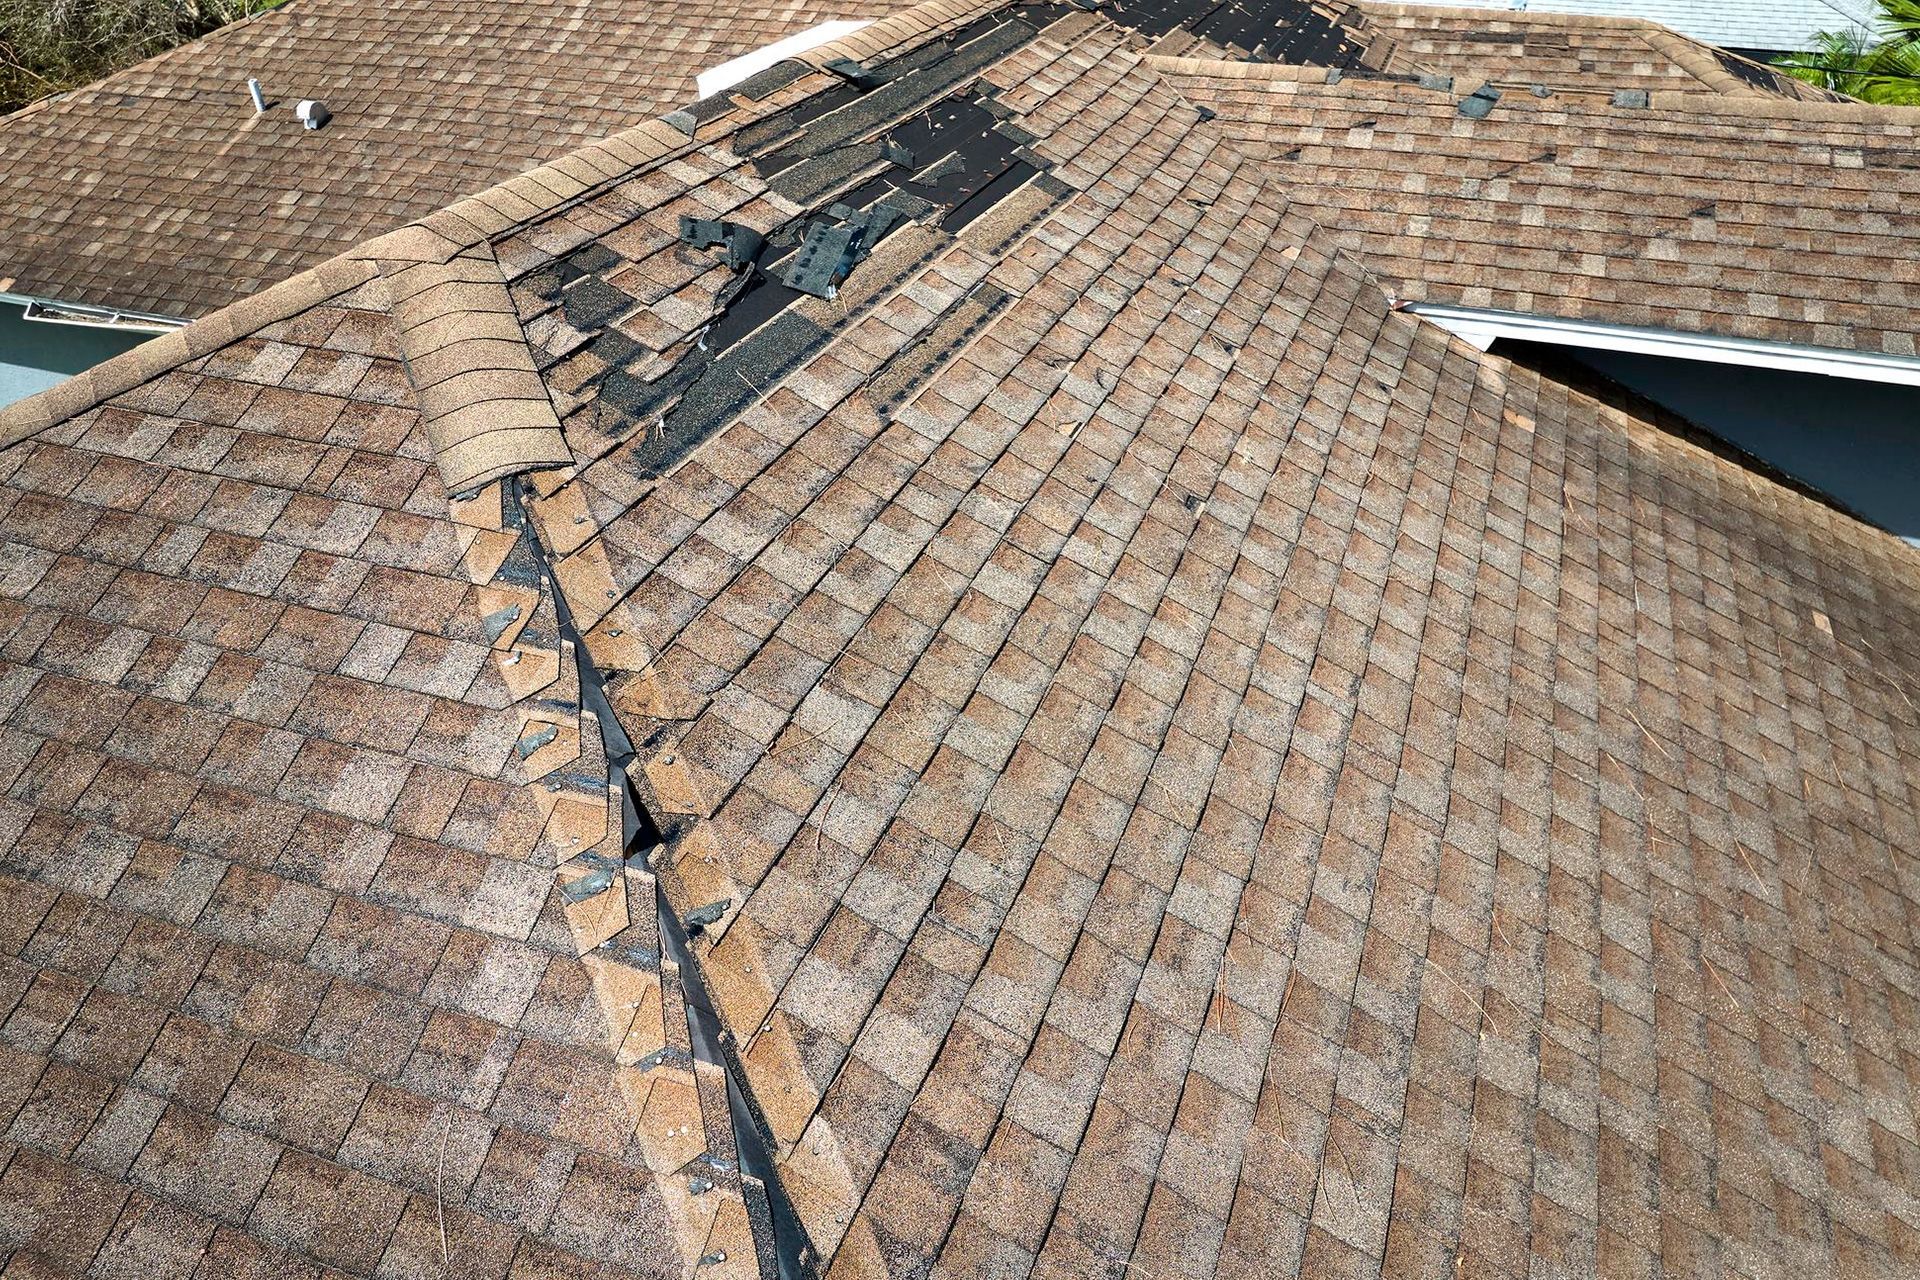
- For example, a seller may move out and damage a wall. A storm may cause a roof leak. An agreed repair may not be finished. An appliance that worked during the inspection may stop working. The walkthrough helps you spot these concerns before signing final documents.
- A clear pre-closing walkthrough checklist also helps you stay organized. Instead of walking through the home quickly and relying on memory, you can check each area with purpose.
Your Pre-Closing Walkthrough Checklist
During the walkthrough, take your time and move through the home in an organized way. Start outside, then review the main living areas, bedrooms, bathrooms, kitchen, garage, and any other spaces.
Check these important areas:
- Agreed Repairs: Review each repair item from the contract or inspection response. Look for signs that the work was completed, and ask for receipts, permits, warranties, or contractor information when applicable.
- Included Items: Confirm that appliances, window treatments, fixtures, remotes, keys, and other agreed items are still present. If the seller agreed to leave something behind, make sure it was not removed by mistake.
- Clean-Out Condition: Look for trash, leftover furniture, paint cans, personal items, or debris. A home does not need to look brand new, but it should be left in the condition required by your contract.
- New Damage: Check walls, floors, doors, trim, countertops, and garage areas for damage that may have happened during move-out. Moving heavy furniture can leave scratches, dents, or holes.
- Water Concerns: Look under sinks, around toilets, near the water heater, at ceilings, and around windows. Discuss stains, active drips, or musty odors before closing.
Room-By-Room Items To Review
- Inside the home, test basic functions in each room. Turn lights on and off. Open and close doors, windows, and locks. Check floors for new scratches, soft spots, stains, or loose materials.
- In the kitchen, test the appliances included in the sale. Run the dishwasher briefly if allowed. Turn on the garbage disposal. Check the oven, cooktop, microwave, refrigerator, and freezer. Look under the sink for leaks or signs of recent water damage.
- In bathrooms, run faucets, flush toilets, turn on exhaust fans, and check around tubs or showers for signs of moisture. Make sure drains appear to be working and that visible plumbing areas look dry.
- In laundry areas, confirm whether the washer and dryer are included. If they are, check that they are still present and appear connected as expected.
What To Include In A New Home Walkthrough Checklist
- A new construction home also needs a careful final review. A new home walkthrough checklist should focus on both finishes and function. Look at paint, flooring, trim, cabinets, countertops, doors, windows, fixtures, appliances, and garage areas.
- New construction buyers should also check that items noted during earlier walkthroughs or builder punch lists were corrected. Look for missing covers, unfinished trim, cracked tile, damaged screens, poor door operation, or incomplete caulking.
- A new home walkthrough checklist is also helpful because construction sites move fast. Even after a builder’s quality review, small items may remain unfinished. Buyers should document concerns clearly and ask when they will be corrected.
Exterior Areas Should Not Be Skipped
- The outside of the home matters too. Walk around the property and look at the roof from the ground, gutters, siding, paint, trim, windows, doors, fencing, patios, decks, pool areas, and drainage.
- Check that trash, building materials, or seller belongings were removed. If the home has irrigation, ask how to operate the system and review visible sprinkler heads or wet areas.
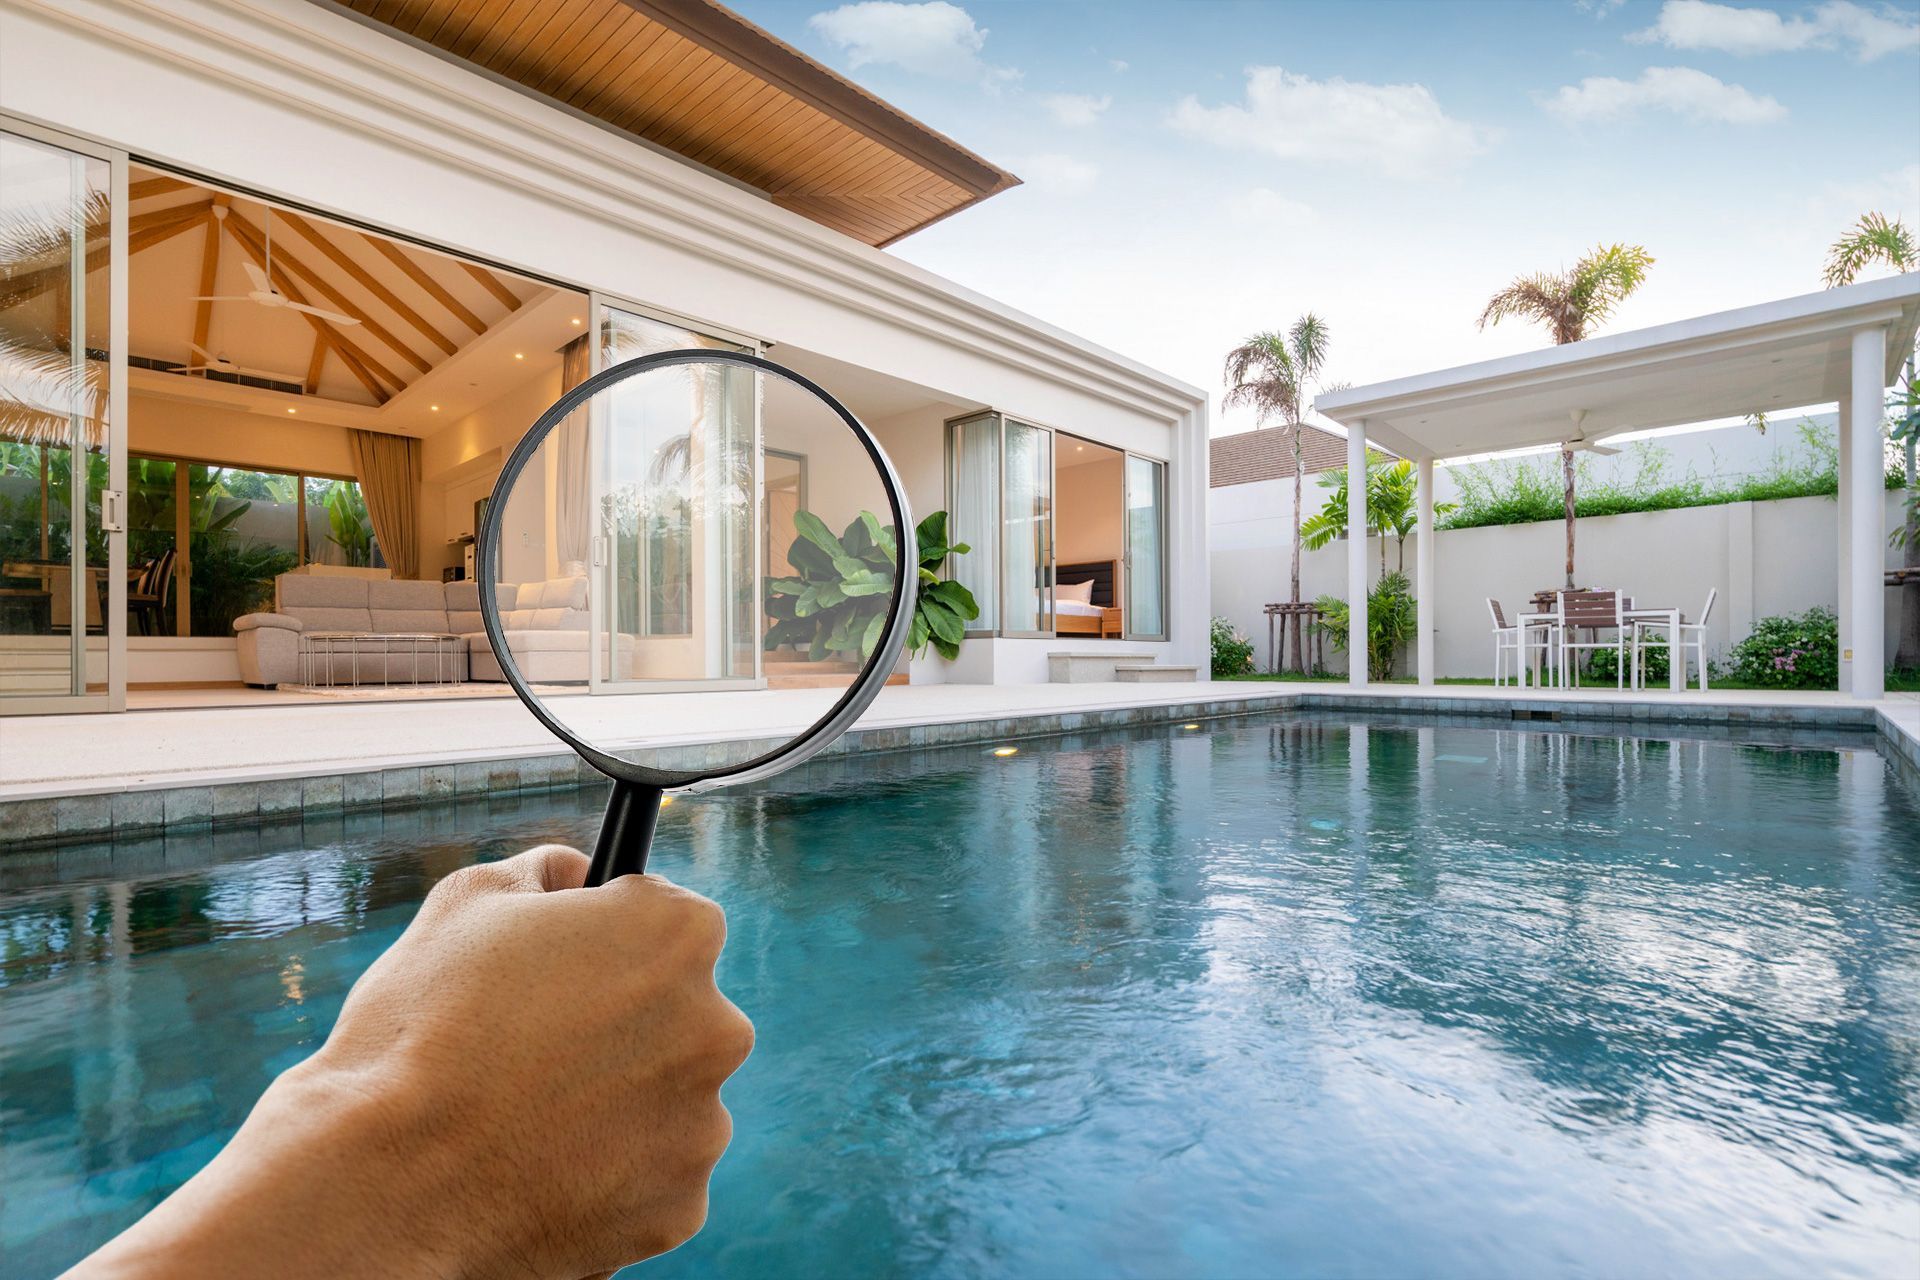
- For properties with pools, gates, screens, pumps, and visible equipment, check these based on what is included in the sale.
- Also review the garage door, openers, remotes, exterior lights, doorbell, mailbox keys, and any access codes or smart devices that should transfer with the home.
What You Need During The Inspection
- Purchase Agreement: Bring a copy of the purchase agreement so you can confirm what should stay with the home, including appliances, fixtures, remotes, keys, or other included items.
- Inspection Report: Keep your inspection report handy so you can compare earlier findings with the home’s current condition during the walk-through.
- Repair Addendum: Bring the repair addendum or written repair agreement to confirm whether agreed repairs were completed before closing.
- Repair Receipts or Invoices: If the seller completed repairs, ask for receipts, invoices, warranties, or contractor details when available.
- Phone or Camera: Use your phone to take photos or videos of anything that looks damaged, missing, unfinished, or different from what you expected.
- Flashlight: A flashlight can help you check closets, garage corners, under sinks, attic access areas, crawl spaces, and other darker spaces.
- Phone Charger or Small Plug-In Device: A charger or outlet tester can help you confirm that accessible outlets are working during the walk-through.
What If You Find A Problem?
If you find an issue during the walkthrough, take photos and notify your real estate agent right away. Your agent can help review the contract and decide how to address the concern.
Some issues may be simple, such as a missing remote or a small repair receipt. Others may need a written agreement, repair completion, escrow arrangement, or legal guidance. The best step depends on the contract and the seriousness of the issue.
Do not ignore concerns just because closing is close. If something looks different, damaged, incomplete, or missing, document it and ask questions before signing.
Conclusion
A pre-closing walkthrough checklist helps buyers make one last careful review before taking ownership. It can help confirm repairs, test basic systems, check included items, and identify new damage before closing day. It gives buyers a final chance to compare the home’s condition to the agreement and ask questions before the property becomes their responsibility.
At Superior Inspections, we help buyers and homeowners in Jacksonville and surrounding Northeast Florida communities better understand property conditions through final walkthrough inspection services.
If you need professional inspection support before buying, building, or maintaining a home, our team is ready to help. Schedule your inspection today.
FAQs
When Should I Complete The Final Walkthrough?
Most buyers complete the walkthrough shortly before closing, often after the seller has moved out. This timing helps you see the home’s condition before signing final documents.
Is the Walkthrough the Same as a Home Inspection?
No. A professional inspection is a detailed review completed earlier in the buying process. The walkthrough is a final buyer review to confirm condition, repairs, and included items.
Who Should Attend The Walkthrough?
The buyer and buyer’s real estate agent usually attend. The agent can help compare the property to the contract and document any concerns.
What Should I Do If Repairs Are Not Finished?
Take photos, review the repair agreement, and speak with your real estate agent before closing. You may need receipts, proof of completion, or a written solution.
Should I Still Do A Walkthrough On A New Construction Home?
Yes. New homes can still have incomplete work, damaged finishes, missing items, or punch list concerns. A careful walkthrough helps you document items before closing.
Disclaimer: The information on this website and blog is for general informational purposes only and is not professional advice. We make no guarantees of accuracy or completeness. We disclaim all liability for errors, omissions, or reliance on this content. Always consult a qualified professional for specific guidance.
Search
Recent Posts